Understanding Guide Number for Photography
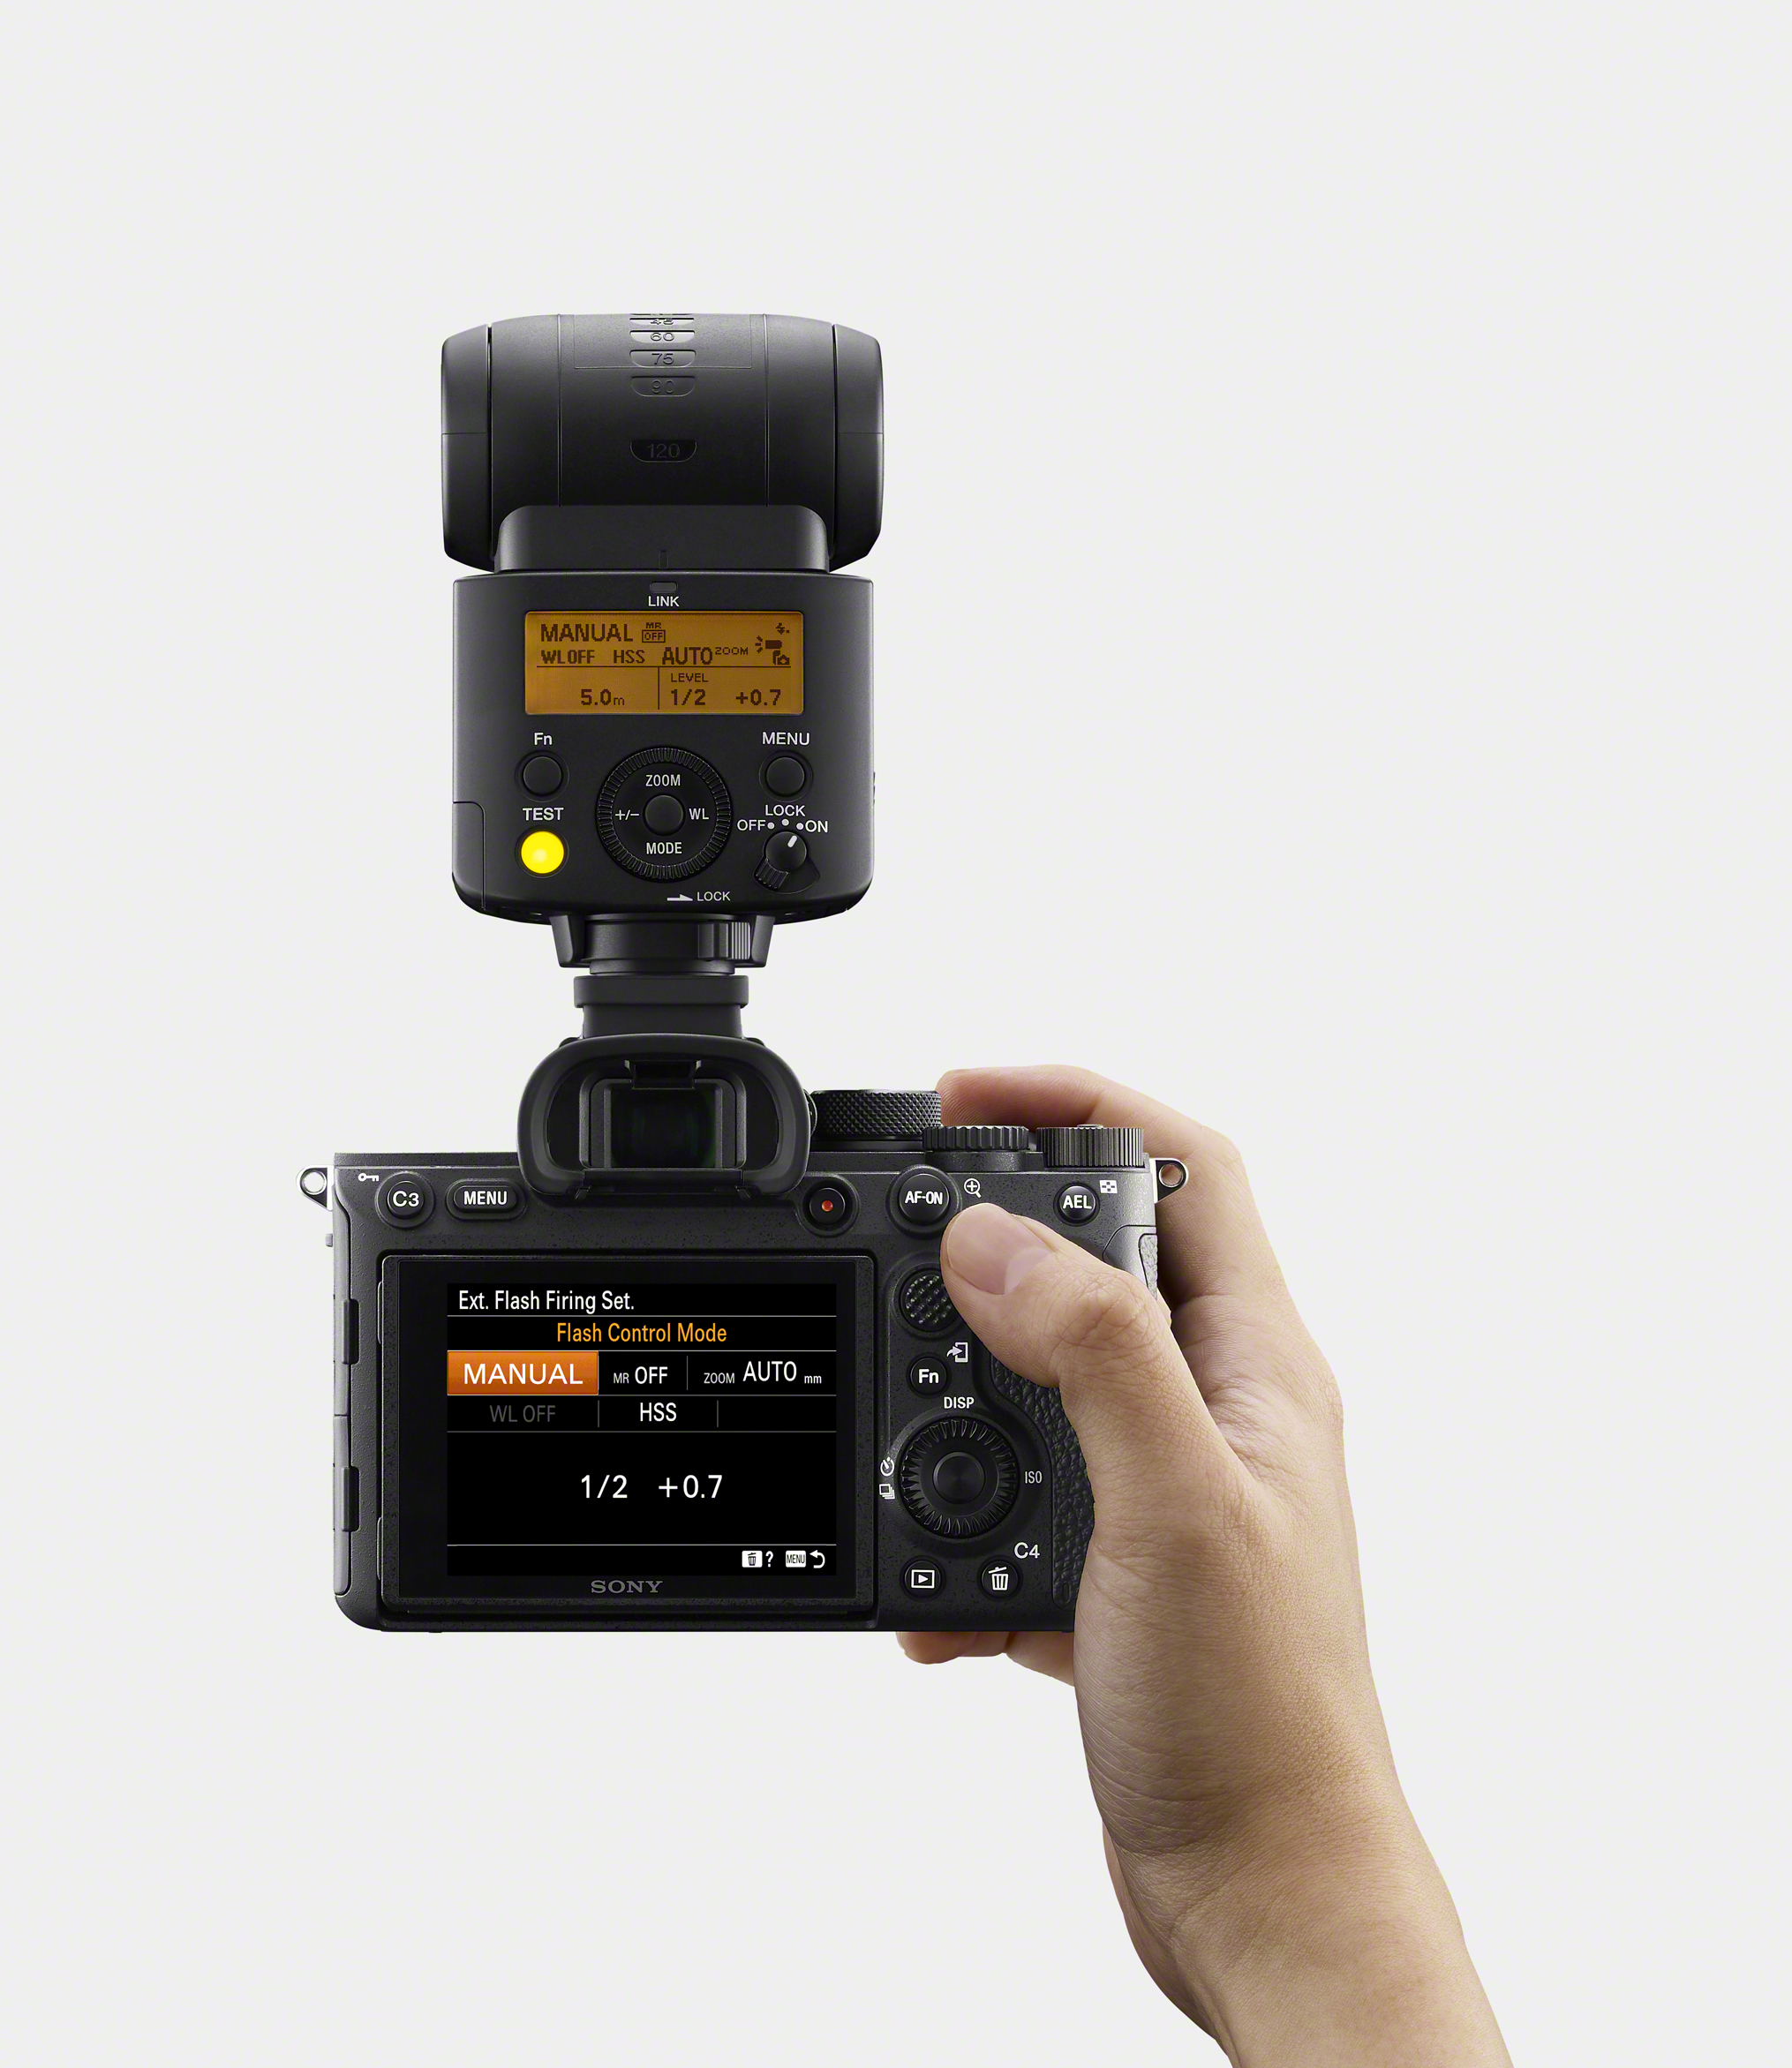
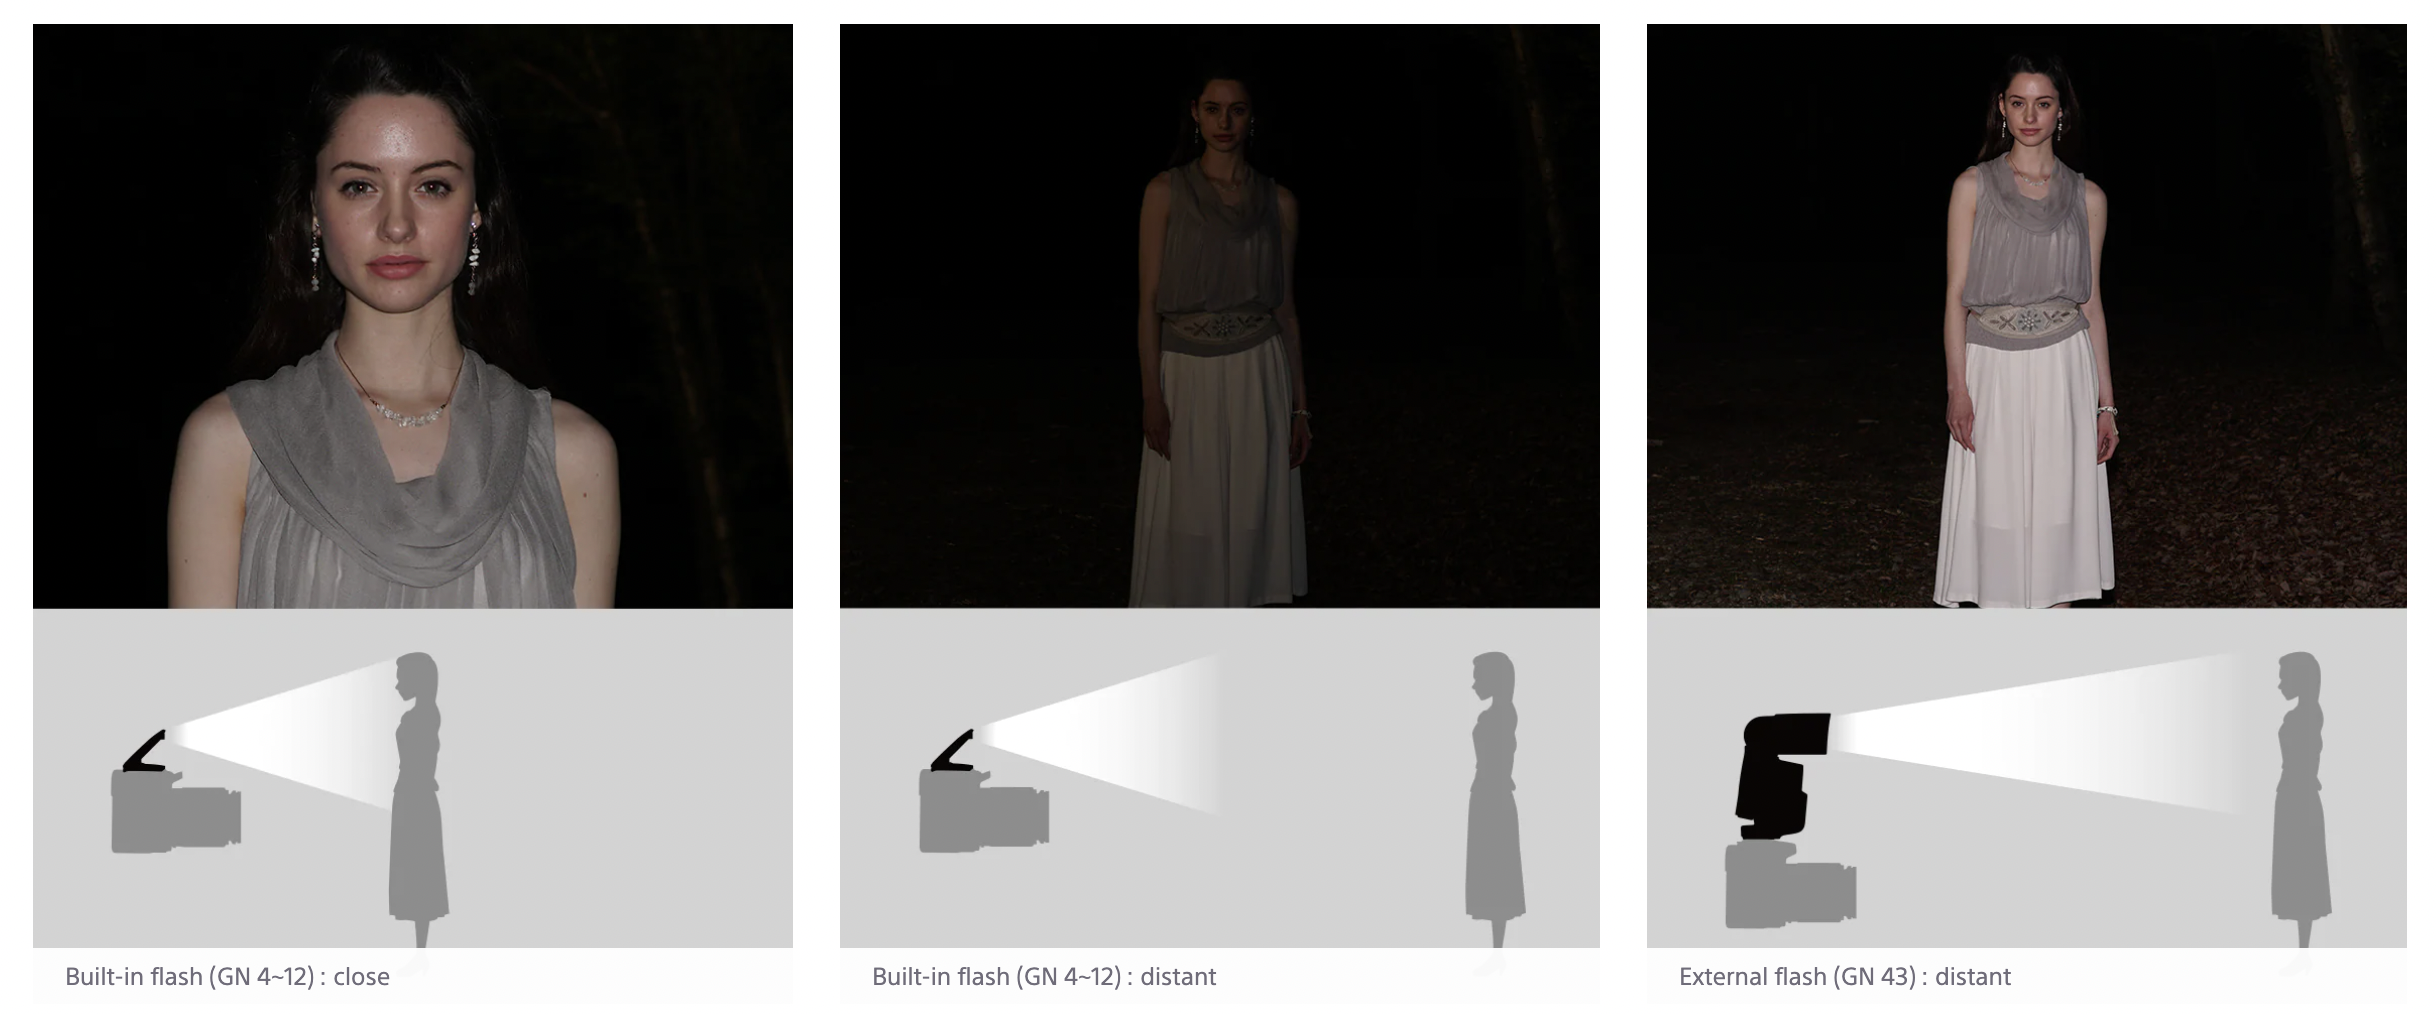
You might’ve encountered Guide Numbers (GN) if you've used a manual flash before. They indicate how much light that flash can produce. The number is measured either in feet or metres and the higher it is, the further it can reach. Understanding how it's used for a flash image can help you determine what flash is right for you.
So, for example, if you want to take intimate portraits in a small space, your flash doesn’t need to be that strong. If you want to take photos of building interiors, your flash needs to be strong.
Guide Number formula
There’s a mathematical formula for calculating flash guide numbers which are: GN = <Subject distance from flash> x <f/stop>
The only constant in this equation is your ISO. When calculating your GN, it is assumed that your ISO is set to 100. When buying a flash, manufacturers will provide you with the GN only.
For example, say your f/stop is constantly f/4, you’ll see that flashes with a higher GN can effectively light subjects that are further away.
If the f/stop is f/4, then GN = 10 metres x f/4 = 40. The only variable changing is the distance.
If your flash to subject distance is constant, then flashes with higher GN will allow you to use a bigger f/stop and help you achieve more depth in your image and keep everything sharp.
If the distance is 10 feet, then GN = 10 metres x f/8 = 80.
The bottom line is, if you want to illuminate subjects with a flash from far away, or if you don’t want to compromise on your depth of field, then look for a flash with a high GN.
What if I don’t want to do the maths?
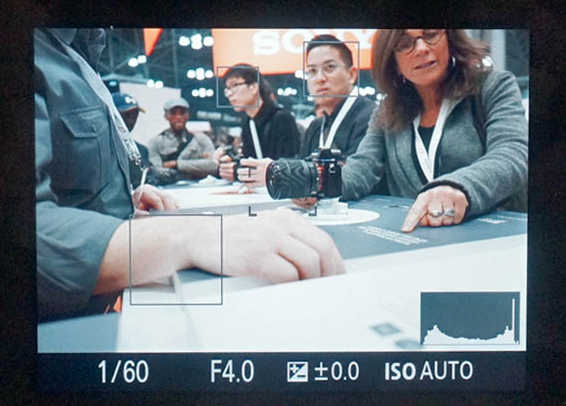
You can do a quick exposure test by simply taking a photo and shoot with flash mode in TTL. You can check your histogram to figure out the correct flash exposures.
Manual flash and guide numbers can be tricky, but it’s one of the easiest ways to make your photos more artistic. Hopefully, this guide has unravelled some of the mysteries behind them.

