How To: Food Photography at Home

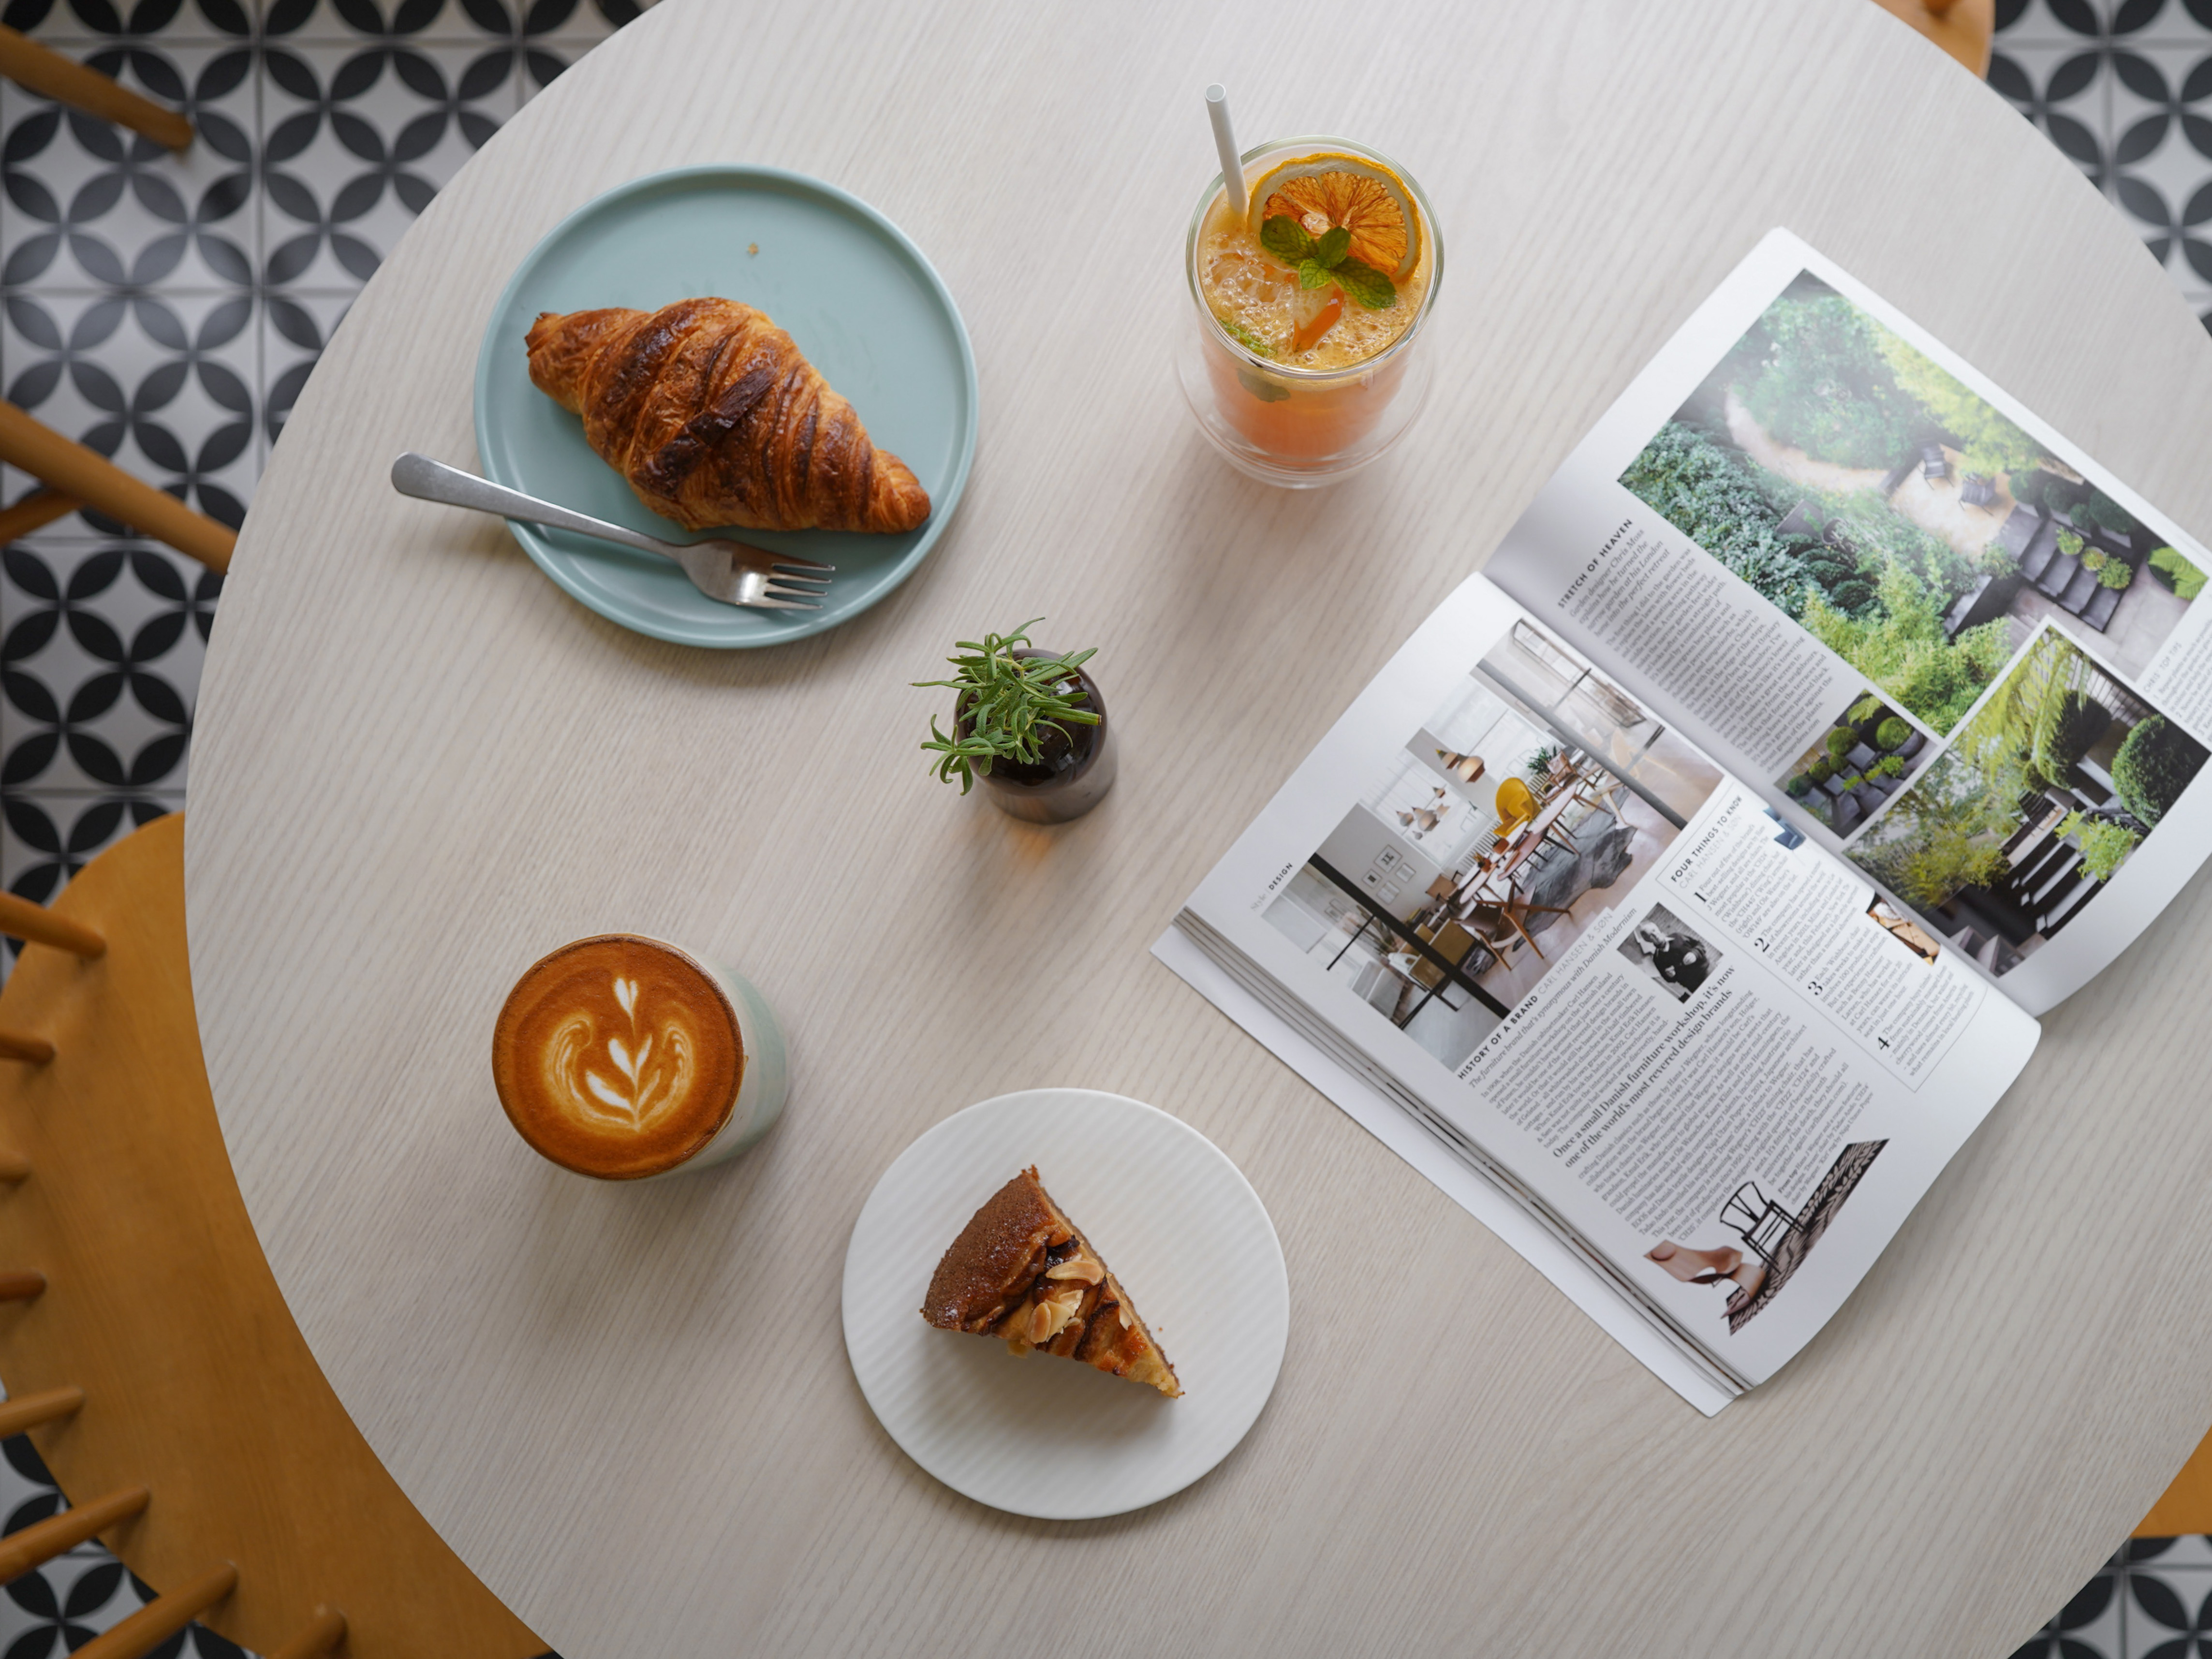
Food photography is all about telling a story to the audience by capturing food. It could be behind the scenes of preparing food or showcasing the final products. How do we make food more mouth-watering? Food styling is an art to make food as attractive as possible.”
Food photography is all about telling a story to the audience by capturing food. It could be behind the scenes of preparing food or showcasing the final products. How do we make food more mouth-watering? Food styling is an art to make food as attractive as possible.”
Products
Featured
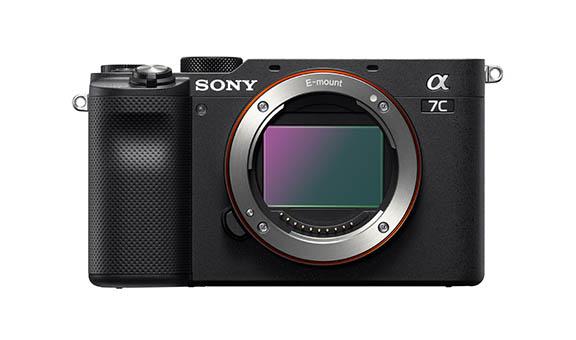
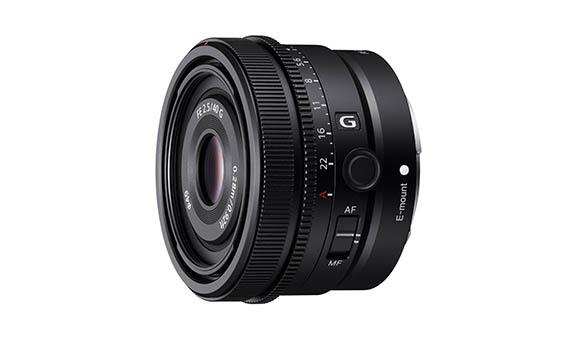
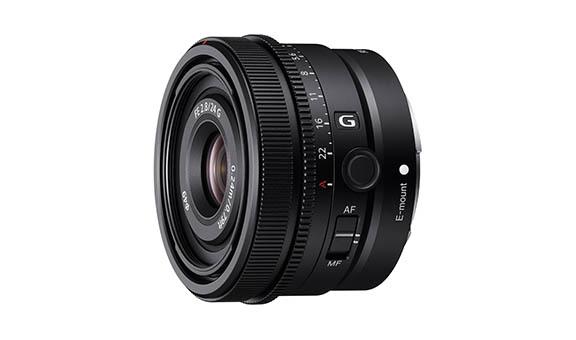
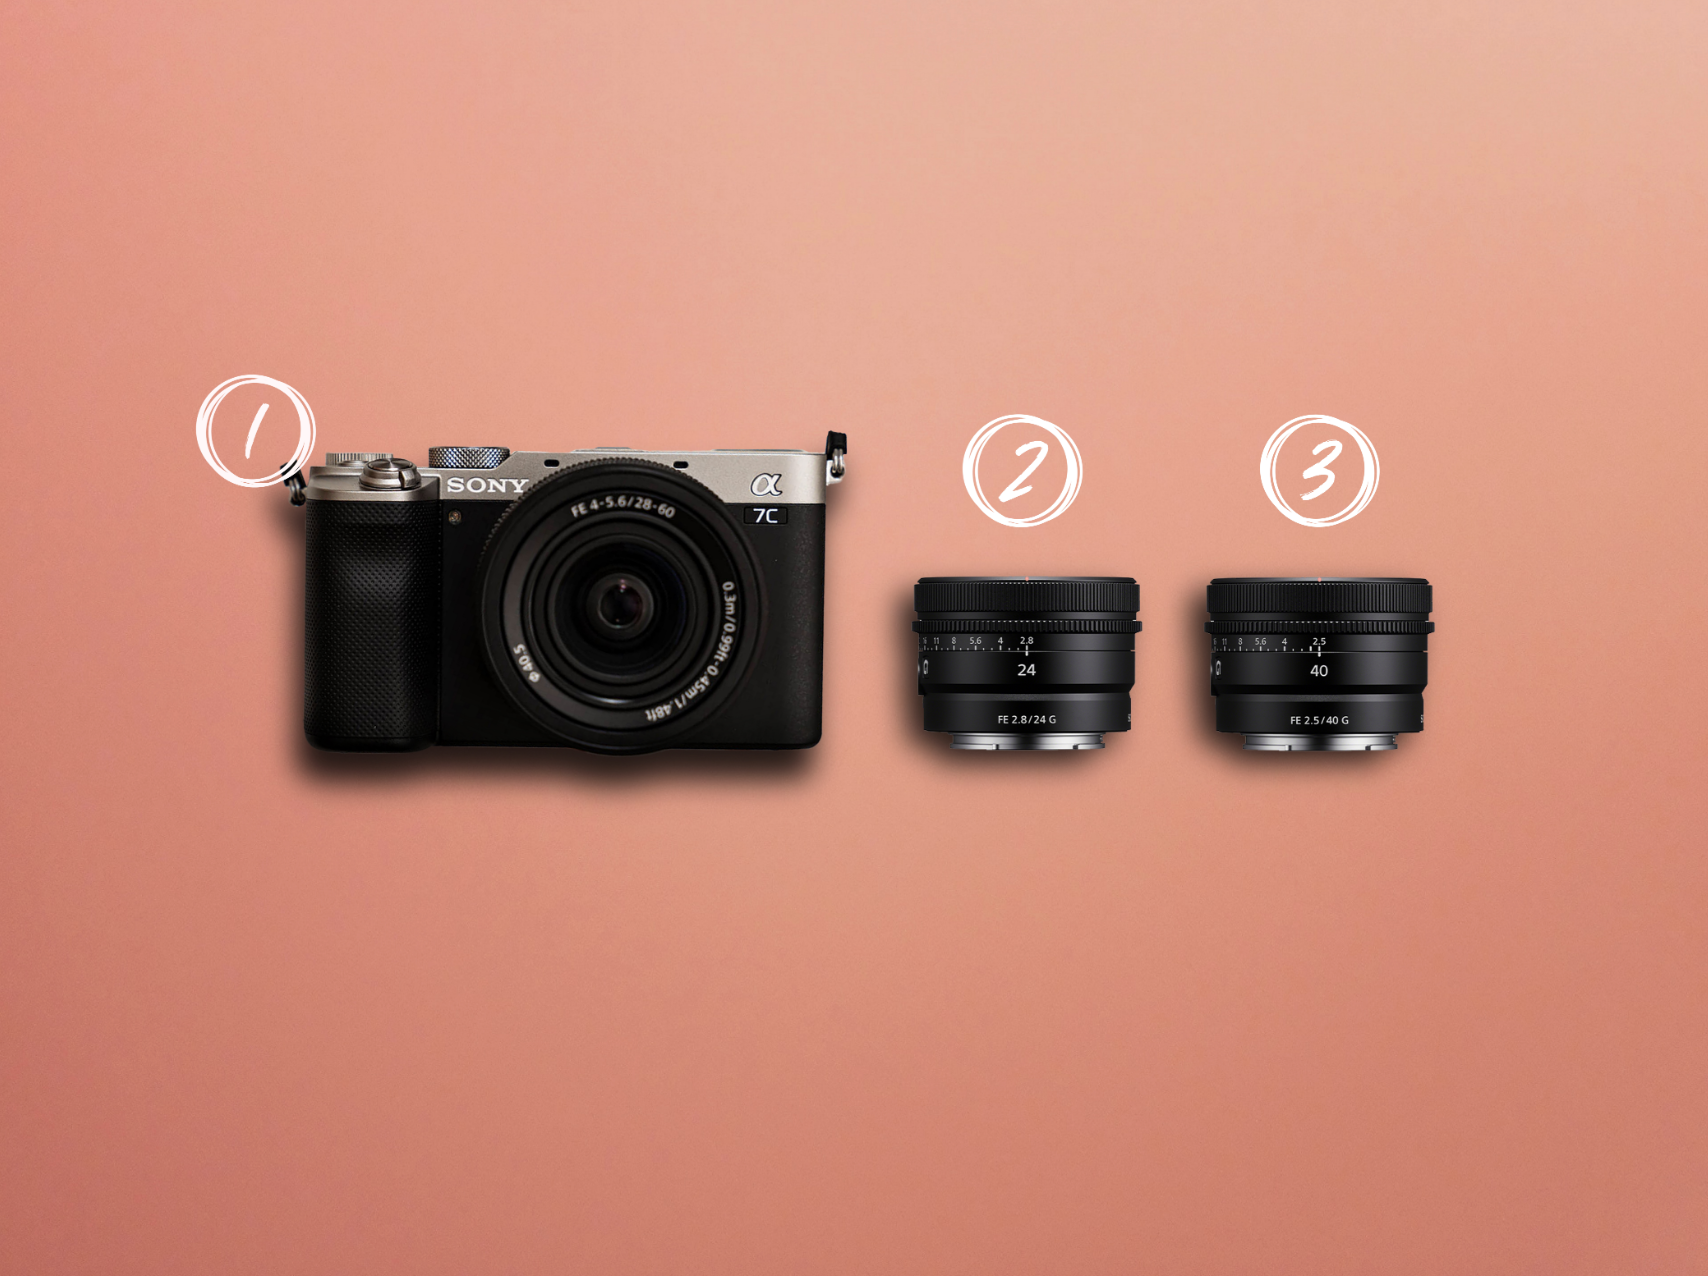
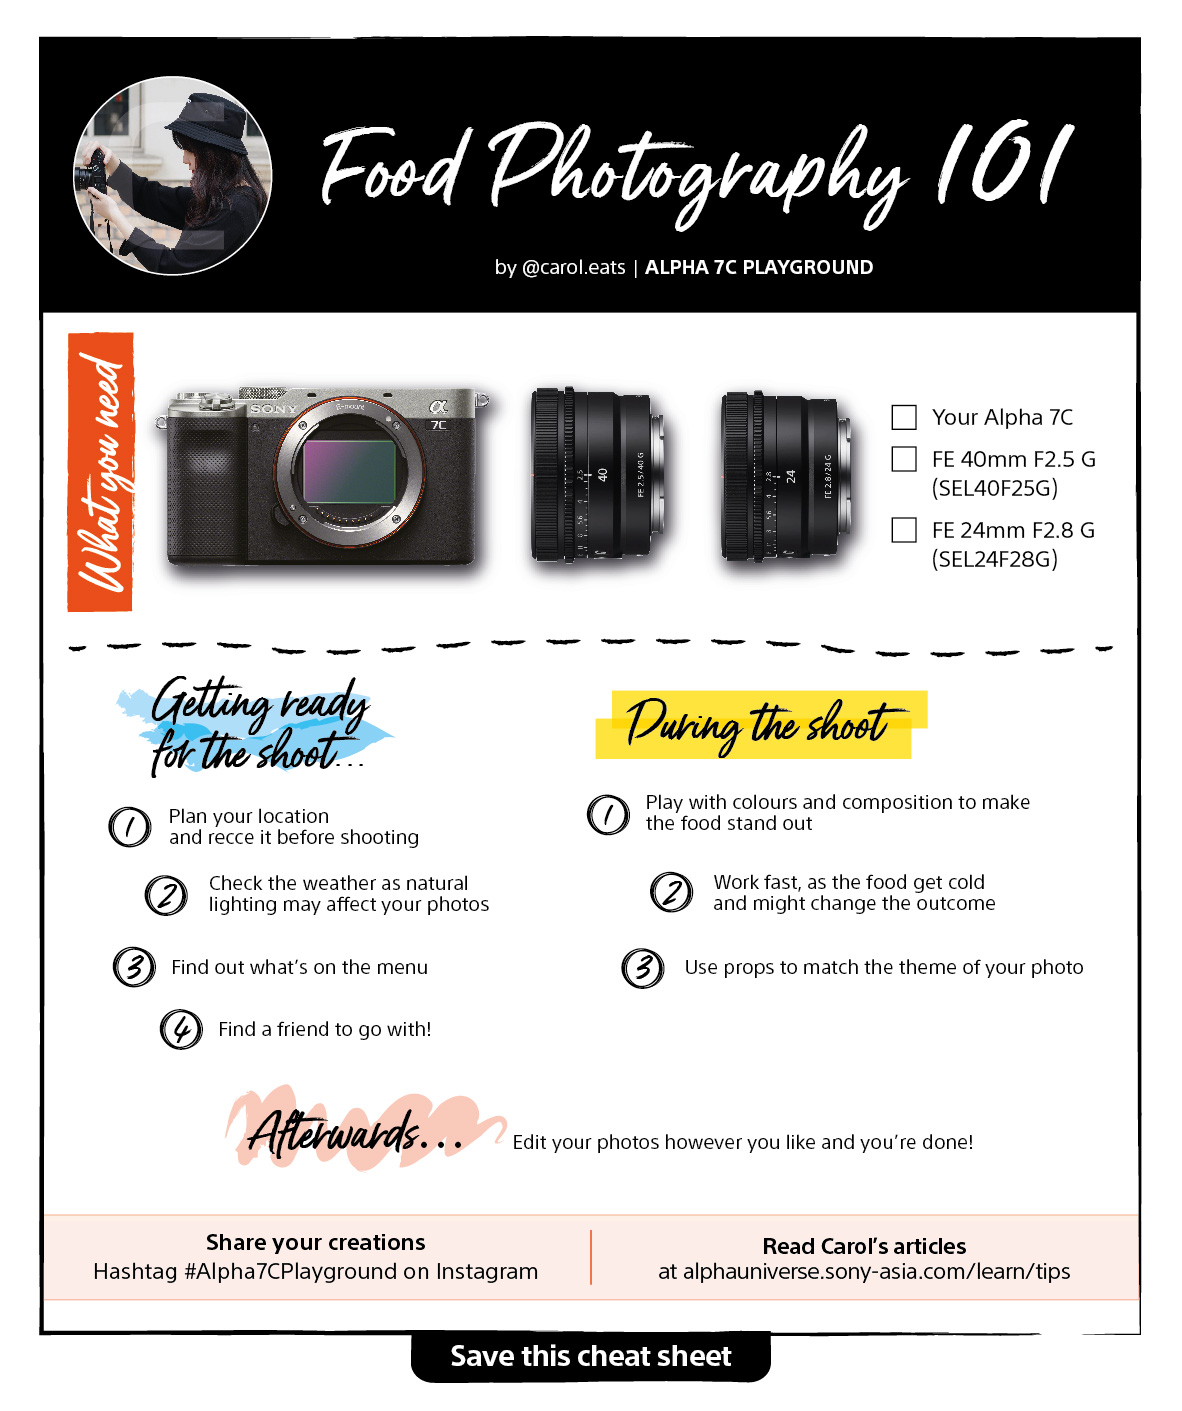
Here's what you'll need
Here are some tips to consider when you are trying to shoot at home:
1. Plating
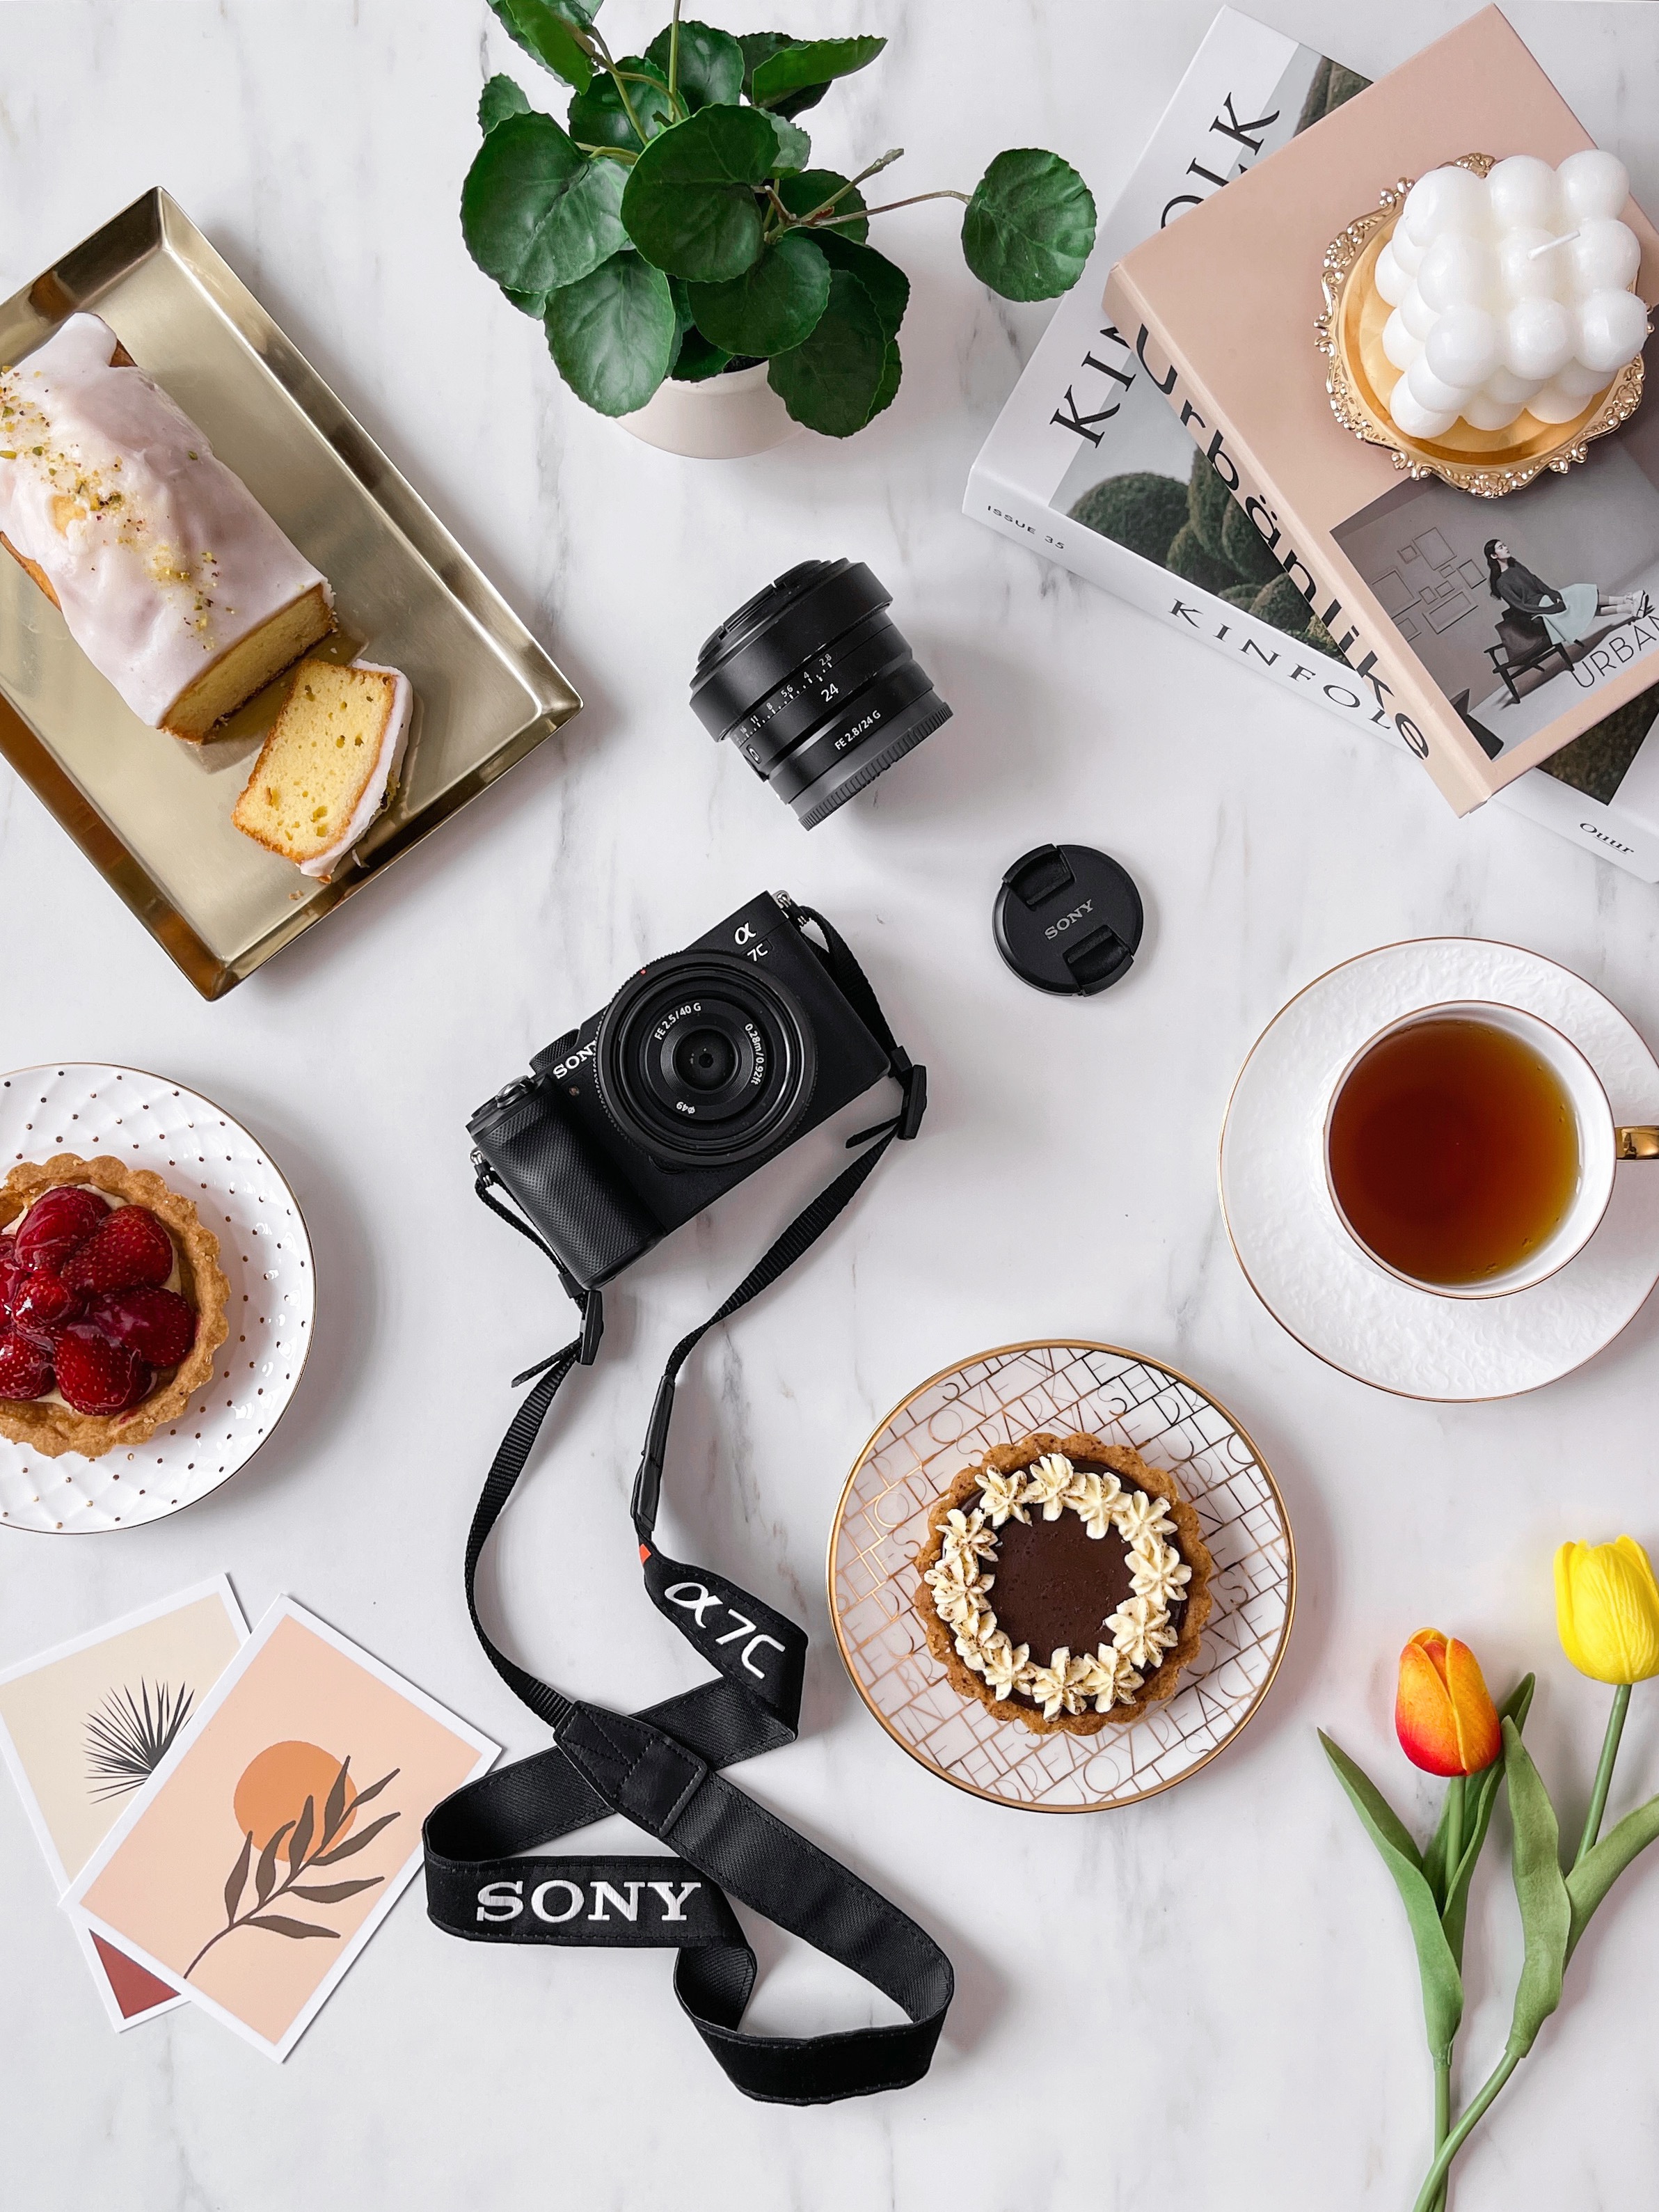
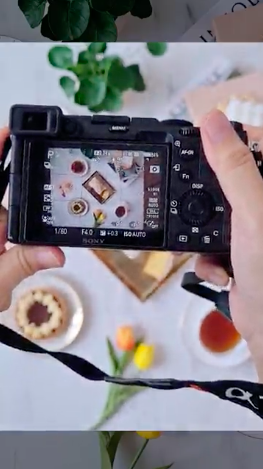
Presentation of food is important when it comes to photographing food. Mastering plating helps to arrange the food in an aesthetic way. You need to decide the theme when capturing the subject. For example, the photo above is showcasing different types of desserts. Both of the tarts look pleasing, but adding plate texture will give bonus points to make them stand out. If you notice the lemon drizzle loaf on the upper left, I have sliced a piece to give the audience another view. It invites the reader to have a slice of cake.
2. Lighting
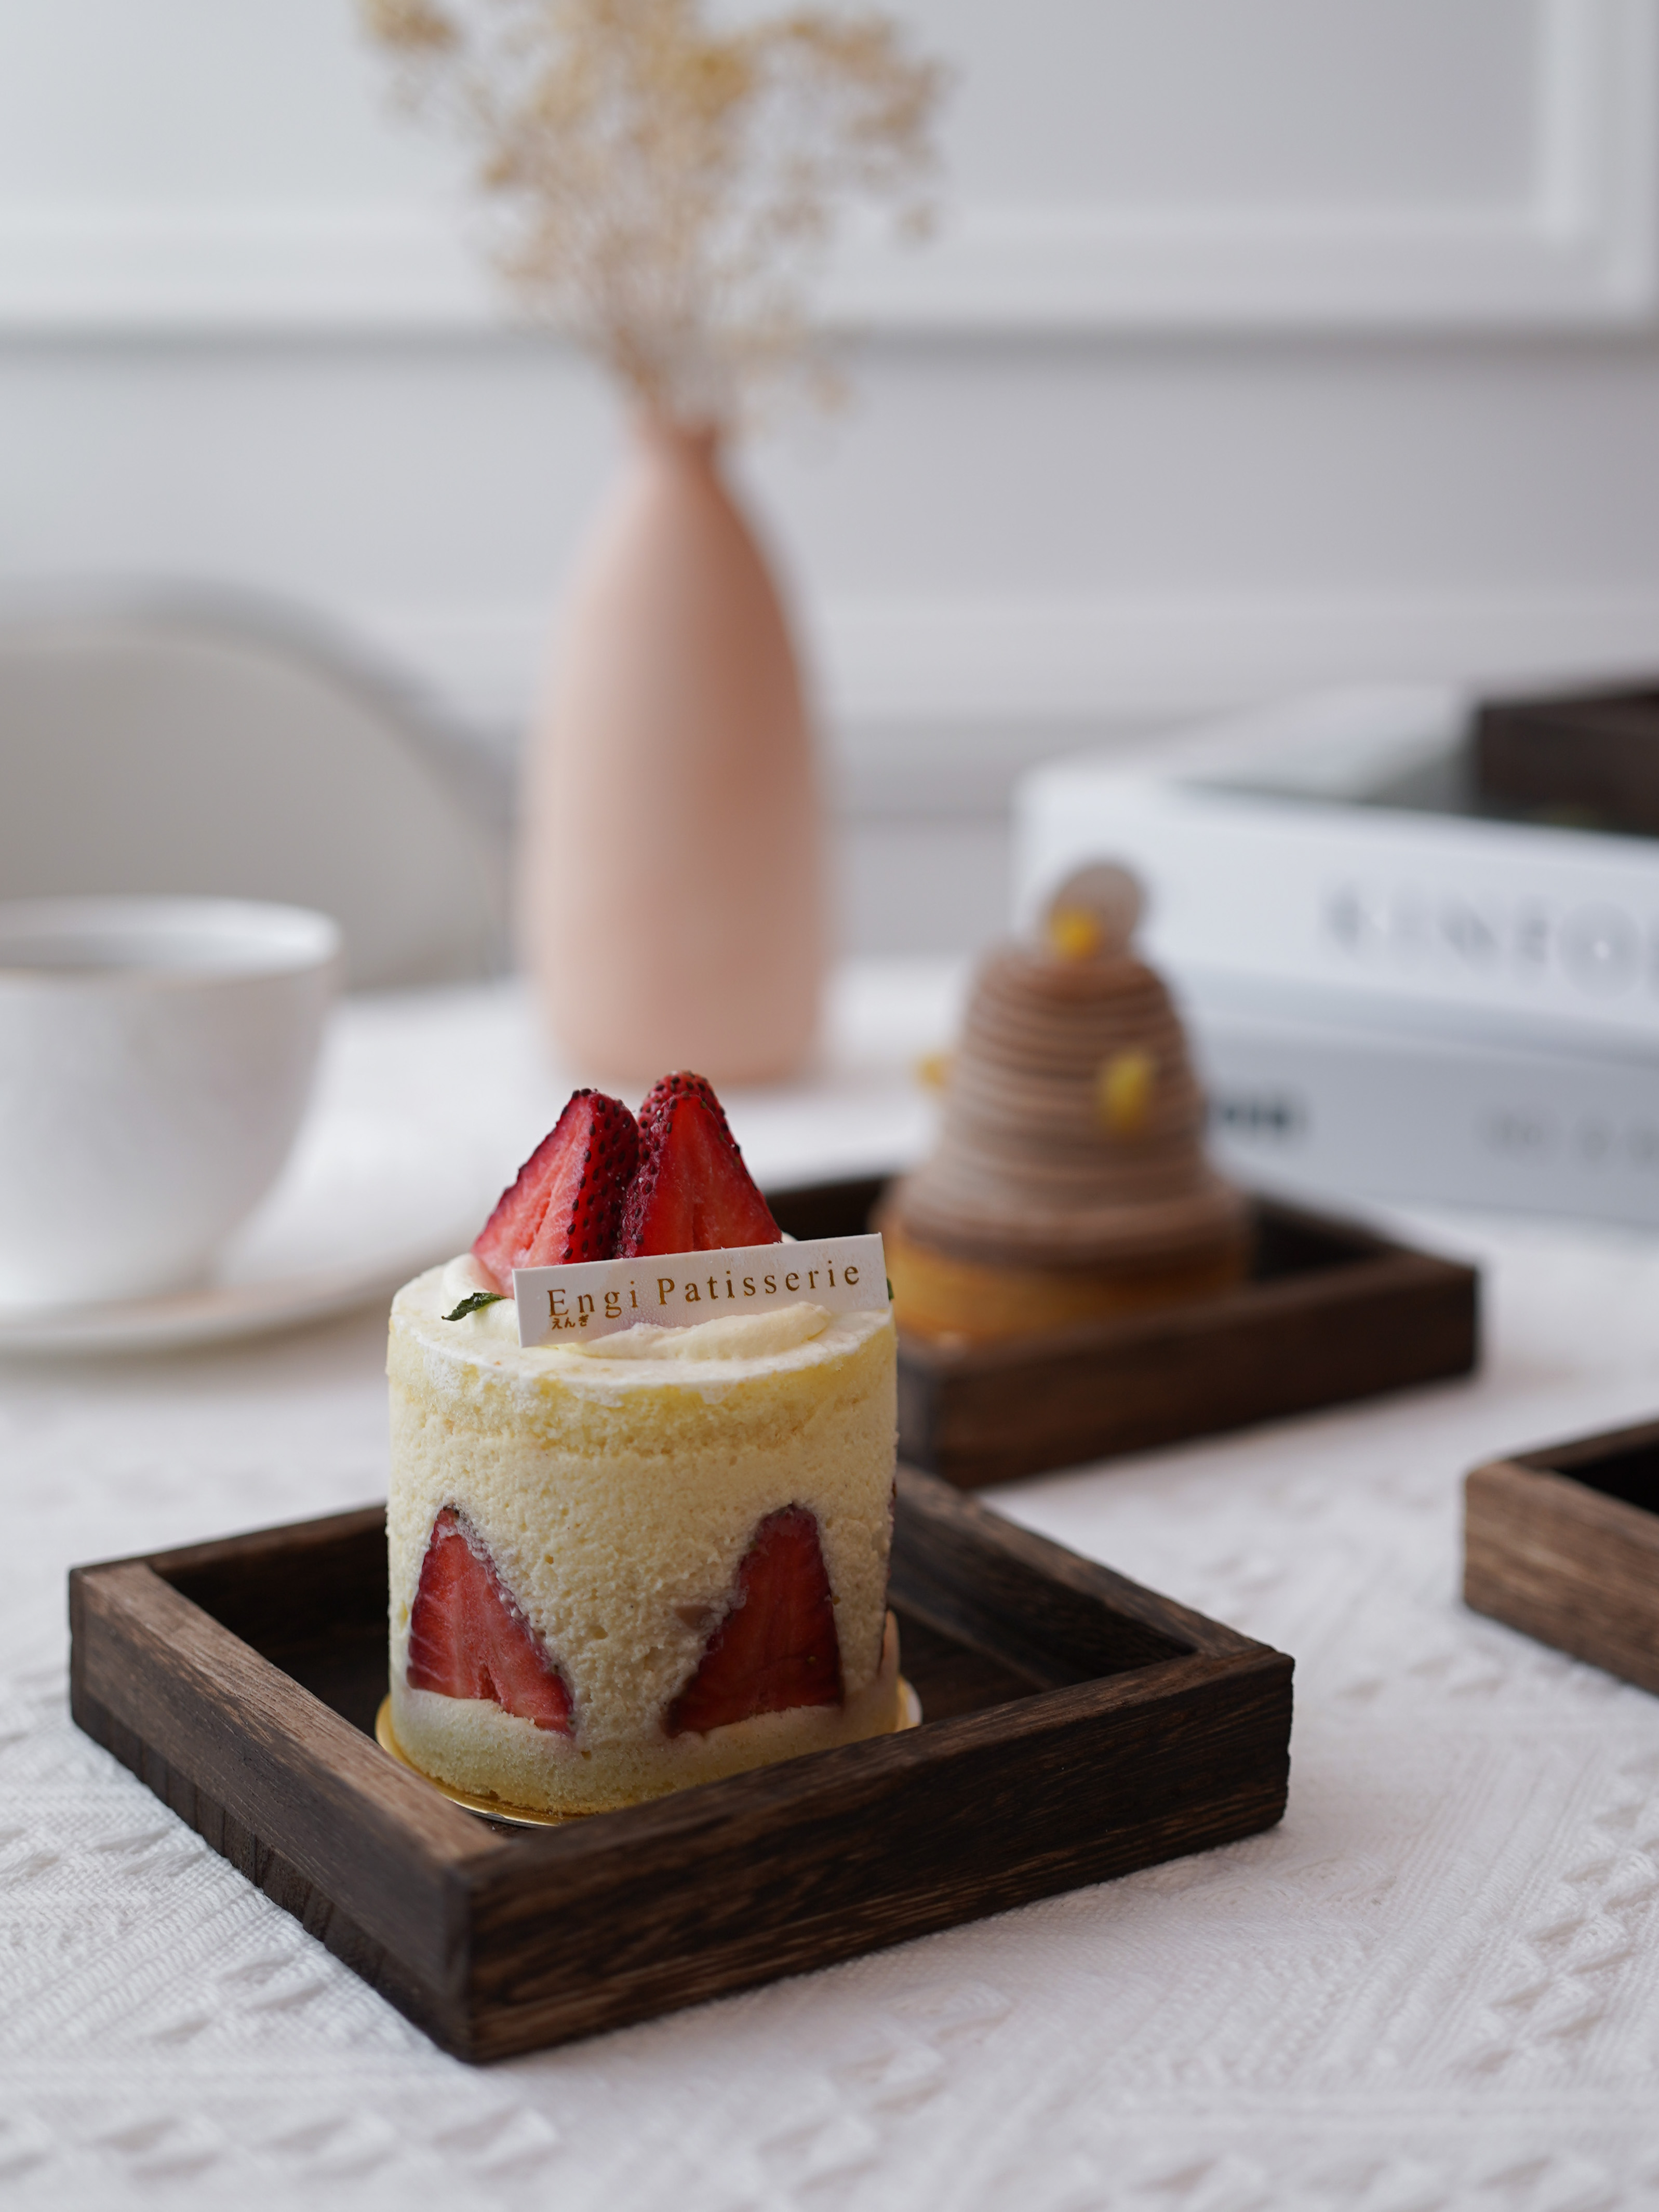
It is more convenient to take food photos at home with the help of external light and reflectors. Of course, natural lighting is always the best to capture food as the colour of the food looks more natural. Sometimes you can use backlighting for food photography. Just place the subject behind the light source and use another external lighting in front of the subject. Based on the photo above, you will realise the background is flowing and the food looks bright and well illuminated.
3. Props
It is crucial to decide on a theme before you start planning to shoot. If you are planning to take a rustic photo, it is better to use all wooden elements rather than white ceramic plates. On the other hand, if you plan to use a clean background, it is important to choose more light-coloured plates to make them look classy and clean.
4. Colour
Sometimes people may have the impression that the more the merrier. They tend to make the plates as colourful as possible within the frame. Without realising, the colourful props or subject will upstage the focal subject and take all the attention.
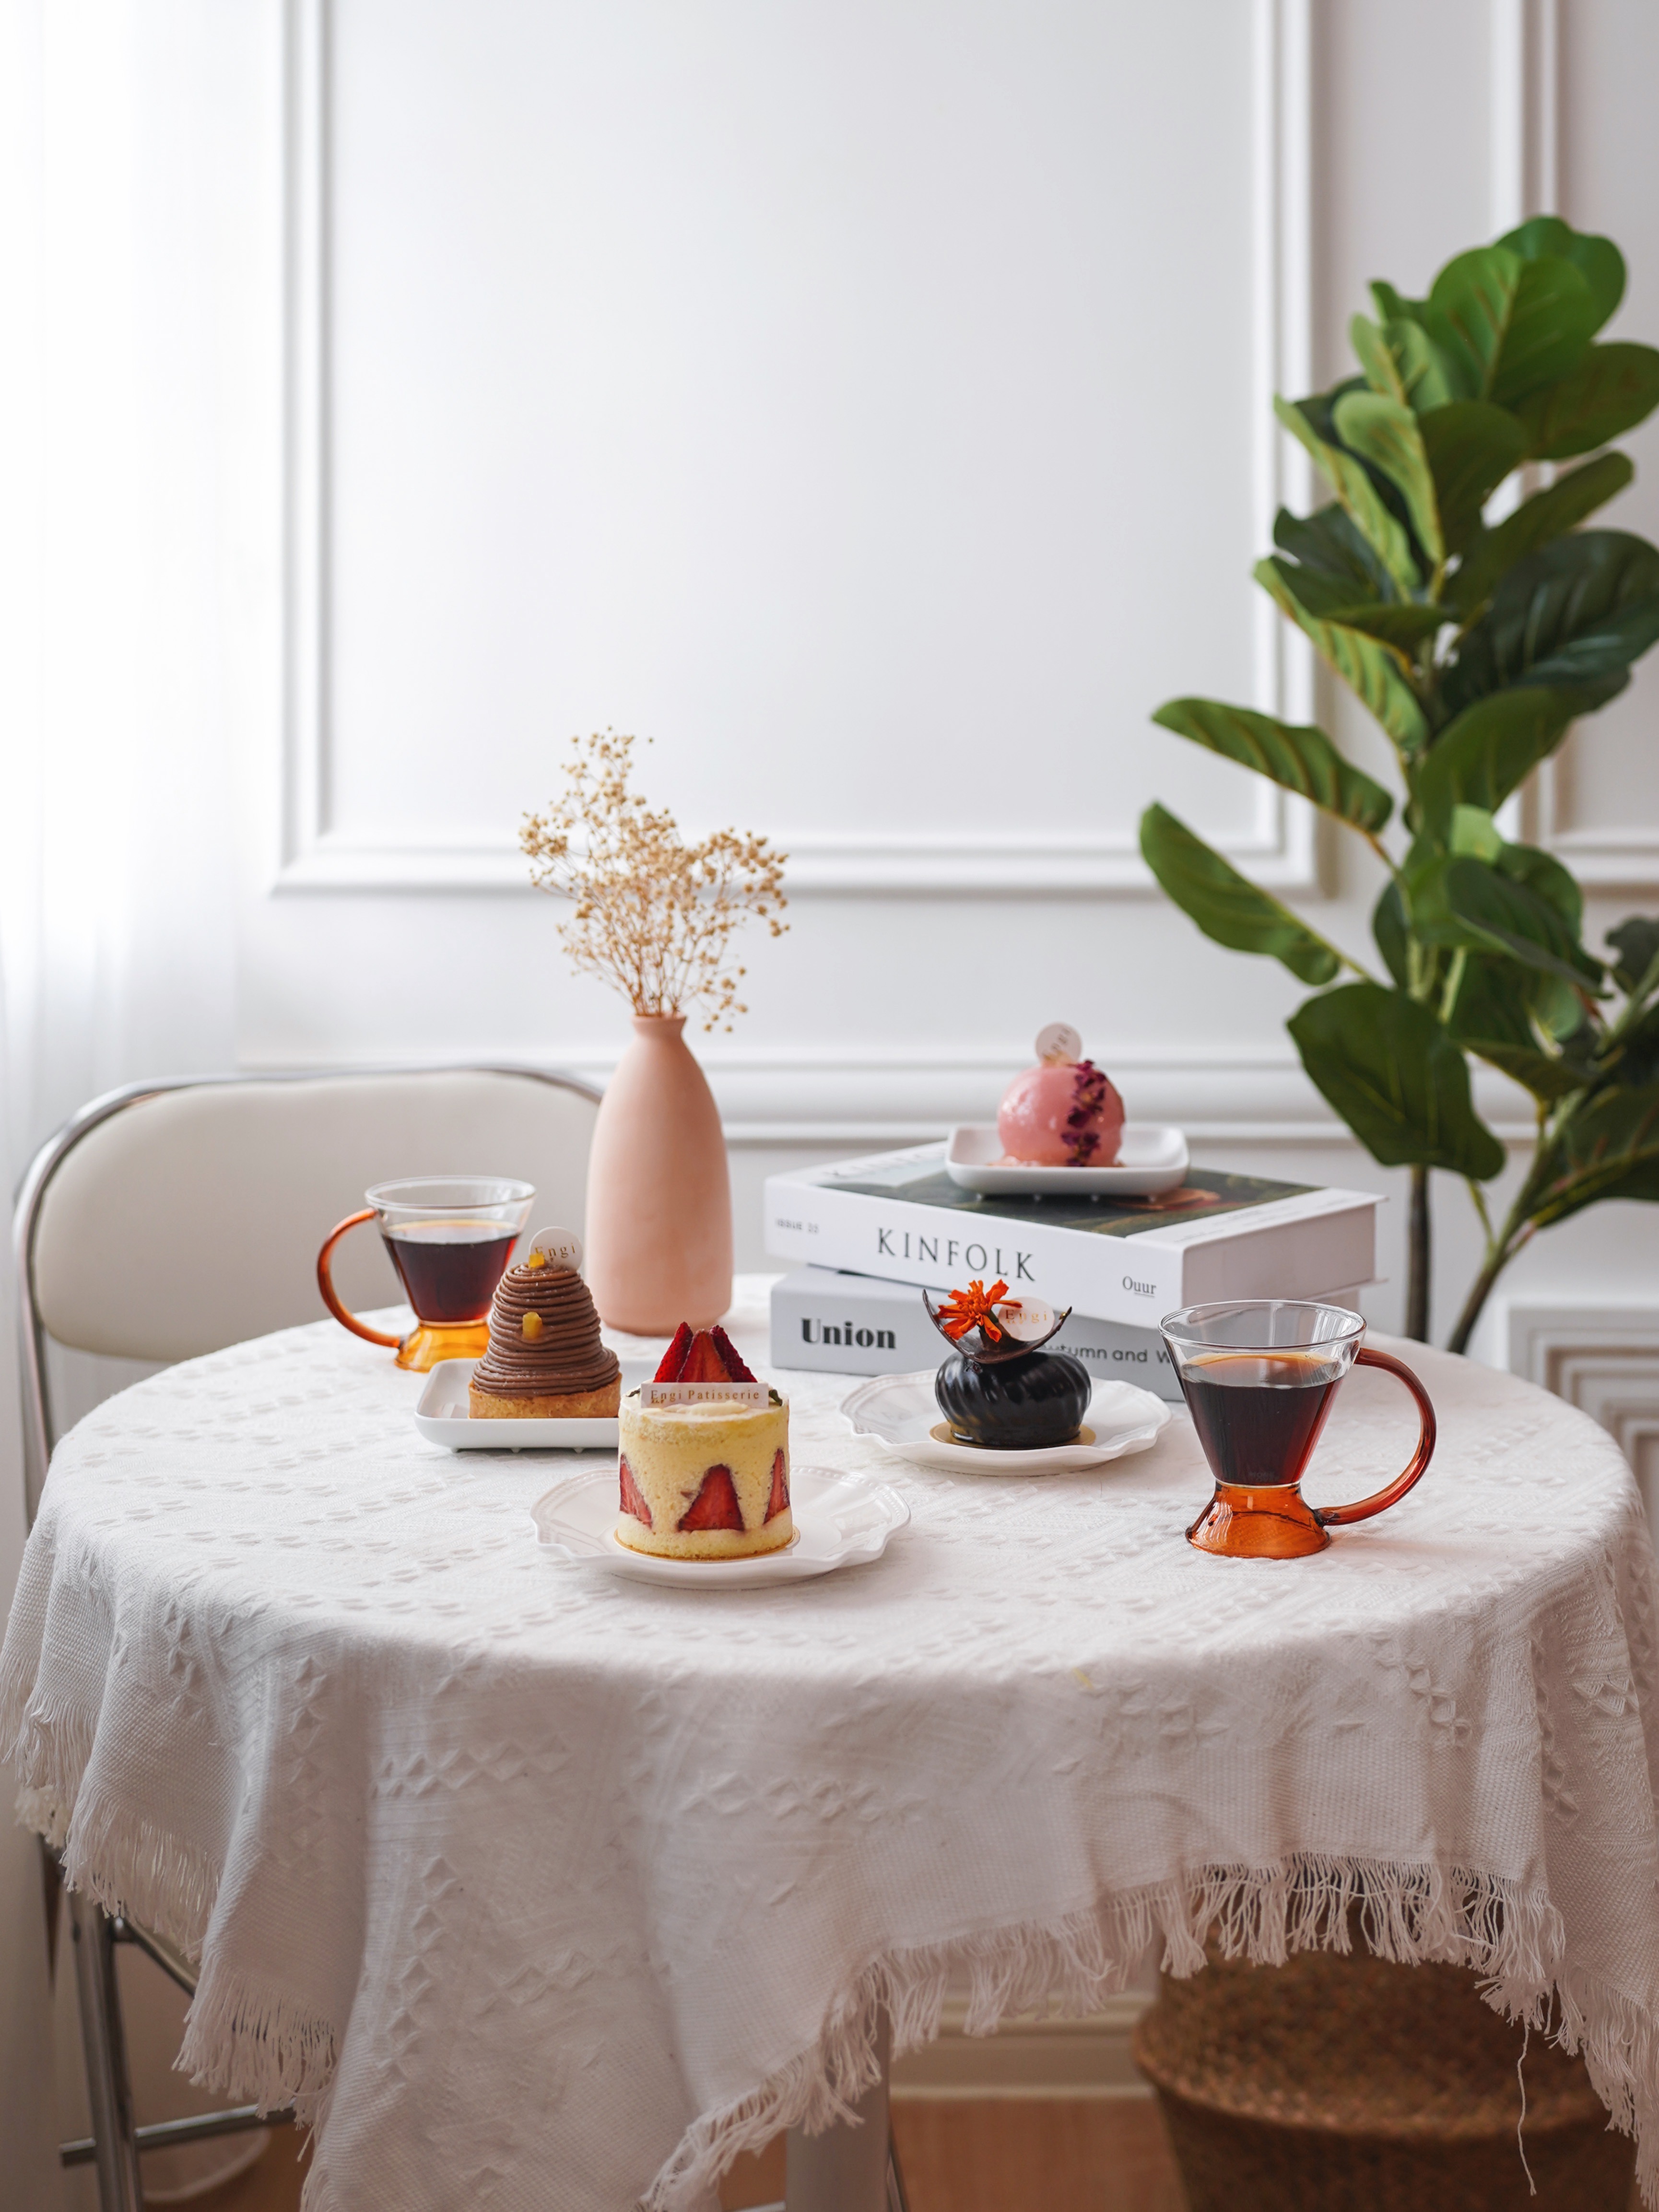
Simplifying colours is ideal for food photography. Try to search the background, props and tableware with neutral tones, such as brown, black, silver and white. Normally I will ensure the food has warm colours, like yellow, orange and red to make the food stand out. It is fine to add some green leaves as props in the frame.
Just imagine the photo above, if I added some props in blue or purple, it would grab all the attention and the audience would ignore the other desserts.
5. Use lines and layers for composition
It is important to decide which is the main focal subject (or known as the hero subject) before starting to shoot. For example, I have chosen the lemon drizzle loaf as the main focal subject and used the golden tray to make the subject more outstanding. I have added books and candles to make a layering effect. It creates minimal depth but does not make the props look distracting. Finally, I surrounded the main focal subject with other desserts, coffee and props.
If you are aware of the final product, all the other surrounding objects have been arranged neatly to lead the audience to notice the lemon drizzle loaf in the middle of the photo. One thing to remember is to not clutter your composition with unnecessary elements.
Extra Tips
Simplicity is key. It is important to understand how to emphasise the aesthetic beauty of your food by using the few points above. There is no right or wrong in deciding what theme to shoot the food. Sometimes you may just try to place the food on a different type of plate, change the background colour or use different props. You will certainly be aware of how to style your food and make your food more delicious to your audience.

